Explanation of the code for The Automatic Irrigation System
Explanation of the code for The Automatic Irrigation System
For this project, we are not using any library we are just using the basic functions for programming. The code is very simple and easy to use. The explanation of the code is as follows.
We start by defining all the required integers here I used two integers for storing the soil moisture and the converted moisture percentage.
int soilMoistureValue = 0;
int percentage=0;
Now, we define the pin mode, here I have used pin 3 as an output and in the next line, I have initialised Serial Monitor for debugging.
void setup() {
  pinMode(3,OUTPUT);
  Serial.begin(9600);
}
I started the loop section by reading the soil moisture. I used the analogRead function of Arduino to read the soil moisture and I stored that in soilMoistureValue. This value varies from 0 to 1023
void loop() {
soilMoistureValue = analogRead(A0);
In the below line, I have converted the sensor values from 0-100 percent for that we use the map function on Arduino. That means that if the soil is dry then the output moisture percentage is 0% and if the soil is extremely wet then the moisture percentage is 100%.
percentage = map(soilMoistureValue, 490, 1023, 0, 100);
Serial.println(percentage);
Calibrating our Moisture Sensor
In the map function, we need to assign the dry value and wet value. To do that we need to monitor that values. You can read that values using the following code:
void setup() {
  Serial.begin(9600);
}
void loop() {
 int sensorValue = analogRead(A0);
  Serial.println(sensorValue);
  delay(1);
Upload the above code to your Arduino and open the serial monitor. Then place your soil moisture sensor in dry soil or just hold the sensor in the air and read the value. now put that value in place of 490(second term of map function).
The next step is to place the sensor in wet soil or submerge it in water and read the value and assign that value in place of 1023 (third term of map function). These values will calibrate your sensors correctly to get better results.

After converting the values we can control the pump according to the soil moisture percentage. With the help of ‘If condition’, I write the first condition, if the moisture percentage goes below 10, then the Arduino will turn pin 3 to LOW and the pump will turn on ( our relay module uses the active low signal to trigger) and the Arduino will print pump on message in the serial monitor.
If (percentage < 10)
{
  Serial.println(" pump on");
  digitalWrite(3,LOW);
}

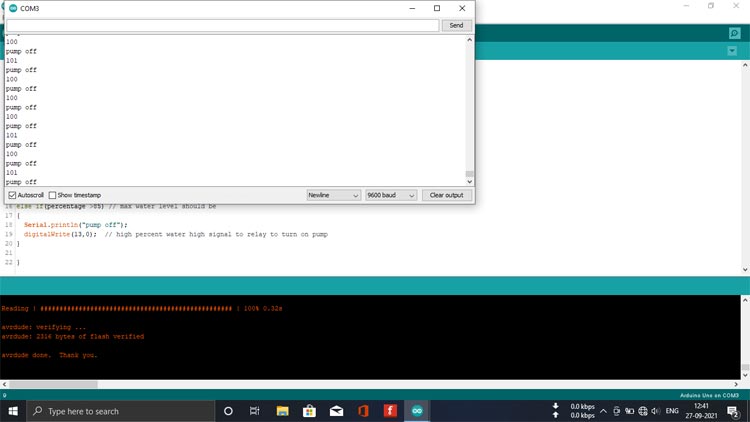
When the moisture percentage goes above 80 percent ( indicating soil is filled with water) the Arduino will turn off the pump and print the ‘pump off’ on the serial monitor.
if(percentage >80)
{
  Serial.println("pump off");
  digitalWrite(3,HIGH);
}
}
Testing the Automatic Irrigation System
After uploading the code to the Arduino, I placed the whole circuit except the pump and sensor probe in a plastic box as shown in the figure below.

Now place the moisture sensor into the soil. Place the sensor as close to the roots of the plants as possible for higher accuracy.

The final step is to place your motor in a container filled with water and your automatic irrigation is ready to take care of your lovely plants when you are not around.

You might have to change the moisture percentage to start and stop the pump as different plants have different water requirements. Hope you enjoyed the project and are ready to build your own automatic irrigation system using Arduino. If you have any questions, you can leave them in the comment section below.
Complete Project Code
int soilMoistureValue = 0;
int percentage=0;
void setup() {
  pinMode(3,OUTPUT);
  Serial.begin(9600);
}
void loop() {
soilMoistureValue = analogRead(A0);
Serial.println(percentage);
percentage = map(soilMoistureValue, 490, 1023, 100, 0);
if(percentage < 10)
{
  Serial.println(" pump on");
  digitalWrite(3,LOW);
}
if(percentage >80)
{
  Serial.println("pump off");
  digitalWrite(3,HIGH);
}
}
